If white powder keeps appearing on your wall, repainting it will not solve the problem. Many homeowners experience the same frustrating cycle: white powder appears on the wall, a contractor removes plaster and repaints, the wall looks fine for a few months, and then the white powder returns again.
At this point, most people assume the paint quality was poor, the plaster was weak, or the contractor did a bad job. But the real problem is usually something else entirely.
What That White Powder Actually Is
That white powder is called efflorescence. It occurs when water carrying dissolved salts travels through masonry and evaporates on the wall surface. Bricks, mortar, and cement naturally contain small amounts of soluble salts. When water enters the wall through cracks or seepage, it dissolves these salts and carries them to the surface. Once the water evaporates, the salts remain behind as a white powder.
This means one thing: if water continues entering the wall, efflorescence will keep returning no matter how many times the wall is repaired. That is why repair engineers follow one simple rule: efflorescence repair works only when water entry is stopped first and then the wall is repaired.
Step 1 – Stop Water Entry First (External Waterproofing)
Before repairing the wall surface, the source of water seepage must be identified and fixed. Common sources of water entry include cracks in external plaster, terrace waterproofing failure, leaking window joints, parapet wall cracks, plumbing leakage, and damaged external wall waterproofing. External treatment may include crack sealing, waterproof coating on exterior walls, sealing window joints, and repairing damaged external plaster. Once waterproofing is completed, water can no longer enter the wall from outside, which is essential to prevent efflorescence from returning.
Step 2 – Remove Salt-Contaminated Plaster
After stopping water ingress, the damaged plaster is carefully removed. Old plaster often contains salt deposits trapped inside it, and if it is not removed completely, those salts will continue appearing on the wall surface. The affected plaster is removed carefully without damaging adjacent sound plaster areas.
Step 3 – Clean Brick Masonry
Next, the mortar joints of the brick masonry are scraped. This removes salt-contaminated mortar, loose material, and pathways through which moisture travels. After scraping, the wall is washed thoroughly with clean water to remove dust and remaining salt particles. This prepares the masonry surface for proper repair.
Step 4 – Polymer Modified Pointing
The cleaned brick joints are then refilled using polymer modified mortar. Polymer modified mortar improves bonding strength, durability, and resistance to moisture penetration. It also helps reduce capillary movement of moisture through masonry joints.
Step 5 – Apply Sealer Coat
A sealer coat of Polycon mixed with water (1:1 ratio) is applied over the brick masonry. This penetrating coat helps to seal pores in the masonry, reduce water absorption, and limit capillary moisture movement. This step provides an additional barrier against moisture migration.
Step 6 – Apply Polymer Bond Coat
Next, a bonding slurry of Polycon and cement (1:1.5 ratio) is applied. This bond coat acts as a bridge between the existing masonry and the new plaster, ensuring strong adhesion. The new plaster is applied while the bond coat remains wet, which improves bonding strength.
Step 7 – Replaster the Wall
A 20 mm thick plaster using cement mortar (1:4) is then applied. Typically Gujarat brown sand or ready-mix plaster is used because it has low silt content, provides better bonding with cement, and reduces shrinkage cracking. This restores the wall surface and improves durability.
Step 8 – Proper Curing
Finally, the plaster is cured for about 7 days. Proper curing helps develop plaster strength, reduce shrinkage cracks, and improve long-term durability.
Why This Method Works
This repair technique works because it addresses both causes of efflorescence: it stops water entering the wall and removes salt-contaminated materials. Once water ingress is eliminated, salts can no longer migrate to the surface, preventing efflorescence from reappearing.
A Simple Rule for Homeowners
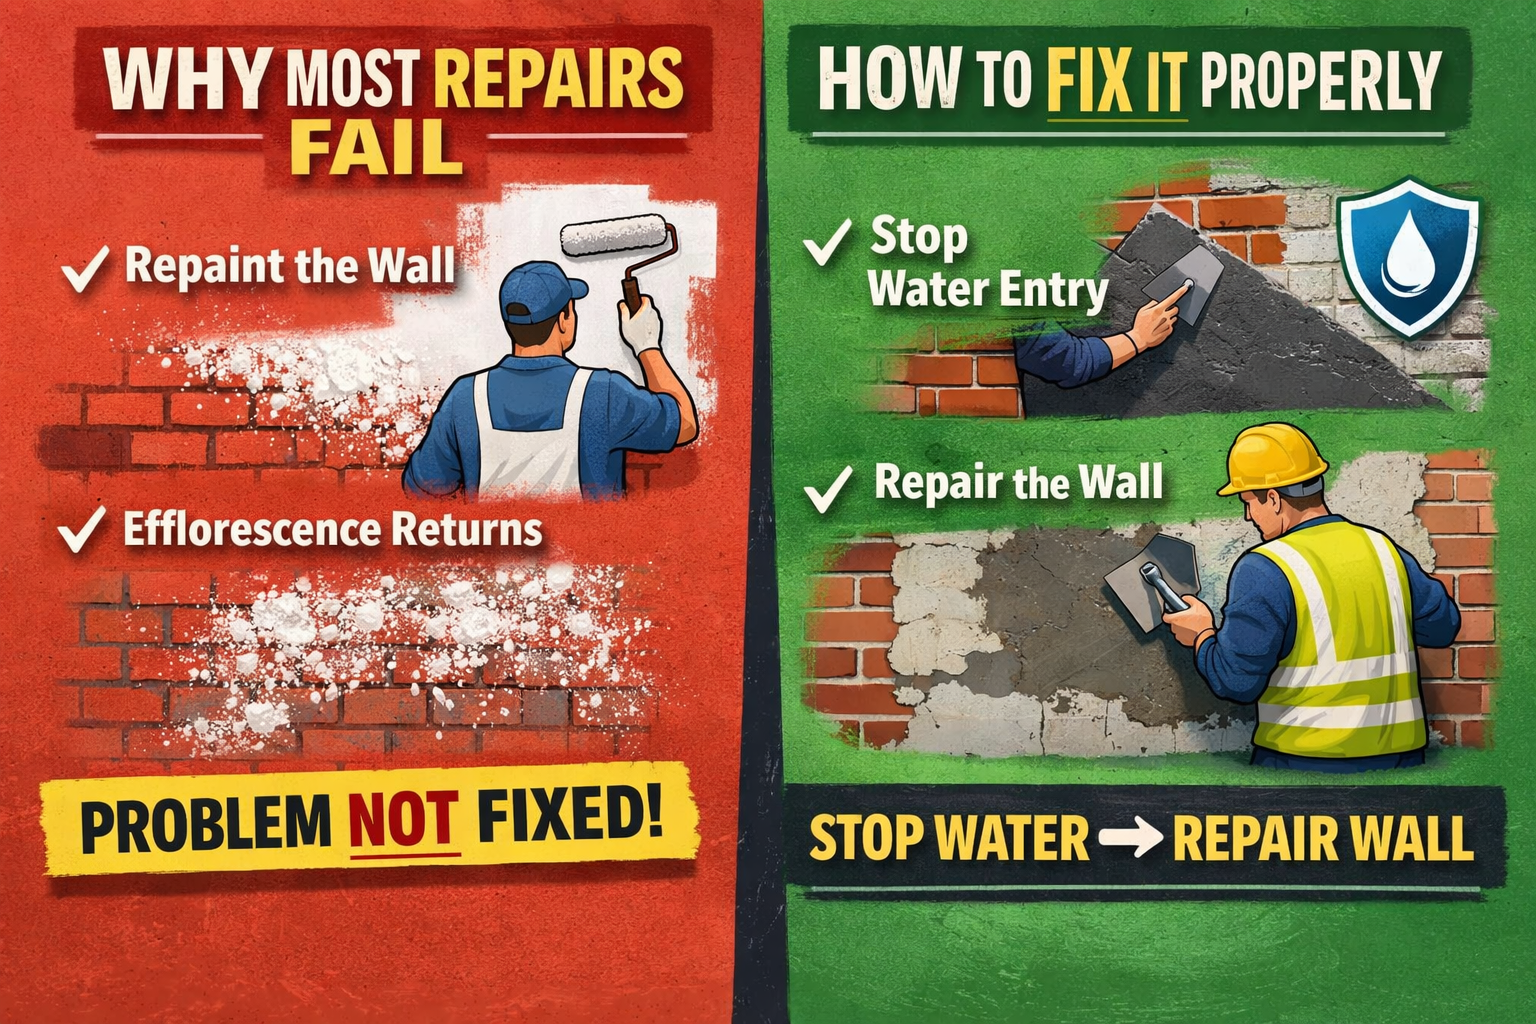
If efflorescence repair is done without fixing the seepage source, the problem will eventually return on different location on wall. The correct repair sequence is always:
Stop water entry -> remove contaminated plaster -> repair the wall.